Adventures In DevOps: CICD Pipelines
Last year I converted this blog to be entirely serverless. The lambda functions, associated API gateway, and public website S3 bucket were all configured in the AWS console. No longer! Now a mere commit to the master branch of this blog’s GitHub repository is published live within a few minutes. I used my Visuair school project as a proving ground for the refactoring process before committing my blog to the same treatment. Both went over without much difficulty, and I learned a lot about DevOps and the AWS Serverless Application Model (SAM) along the way!
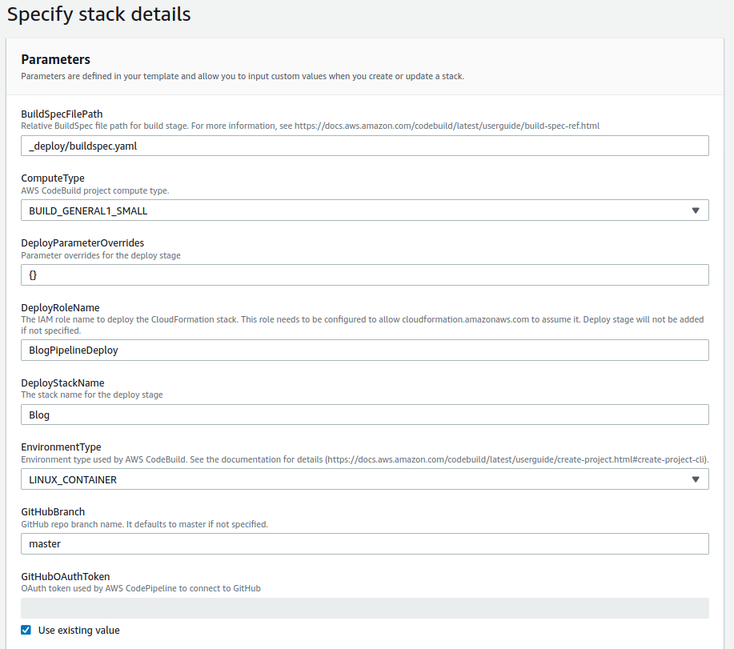
To accomplish my CICD objectives I use AWS CodePipeline, CodeBuild, and CloudFormation to automate everything. The pipeline gets its own CloudFormation Stack defined by pipeline_template.yaml. To have CodePipeline use GitHub as a source, you will need to configure an OAuth token for authentication first. Once this is done all of the relevant details can be provided through the CloudFormation parameters in the pipeline template.
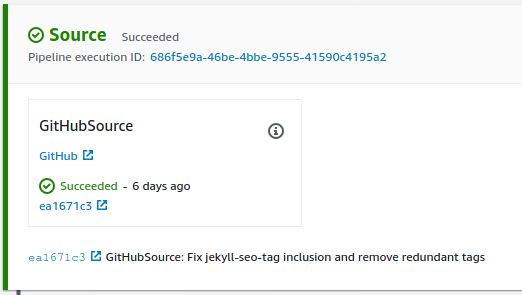
Once this CodePipeline stack has deployed, new commits to the selected GitHub repository and branch will trigger it to do its magic.
To facilitate some of this magic I redefined my lambda functions and API gateways using AWS’s Serverless Application Model (SAM). Like the pipeline template, the python code for these, and the SAM enabled CloudFormation template all live in the _deploy directory. Using SAM is pretty slick, because the APIGateways can all be defined implicitly with using the Events key in the Properties section of the lambda function definition. For example the following snippet let’s SAM know that I want an API gateway, that the path for this API call relative to the root should be “/songtime”, and that it should expect POST requests. That’s a lot of heavy lifting for only six lines of CloudFormation YAML.
Events:
  SpillInfo:
    Type: Api
    Properties:
      Path: /songtime
      Method: post
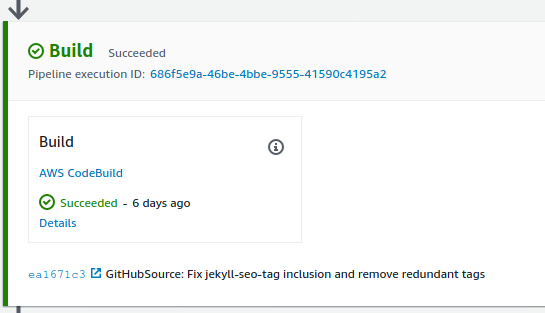
I need both my python based SAM app built, and my Ruby based Jekyll website statically generated by the pipeline. All of this is handled in the CodeBuild stage with the steps defined in buildspec.yaml.
version: 0.2

phases:
install:
    runtime-versions:
        ruby: 2.7
        python: 3.7
    commands:
    - pip install cfn-lint
    - gem install bundler
    - bundle install
pre_build:
    commands:
    - cfn-lint -t _deploy/sam-app/template.yaml
build:
    commands:
    - JEKYLL_ENV=production bundle exec jekyll build
    - cd _deploy/sam-app/
    - sam build
post_build:
    commands:
    - sam package --s3-bucket ${PACKAGE_BUCKET} --output-template-file packaged-template.yaml
    - cd ../..
    - cp _deploy/sam-app/packaged-template.yaml packaged-template.yaml
artifacts:
secondary-artifacts:
    SAMArtifacts:
    files:
        - packaged-template.yaml
    BlogArtifacts:
    files:
        - '**/*'
    base-directory: _site
I define runtimes for both Python and Ruby, build and deploy the SAM app to the SAMArtifacts prefix of my artifacts bucket, and the website assets to the BlogArtifacts prefix. SAM handles the installation of packages for each lambda function independently using their respective requirements.txt files. For Jekyll I use bundler to handle installation and execution of the required gems.
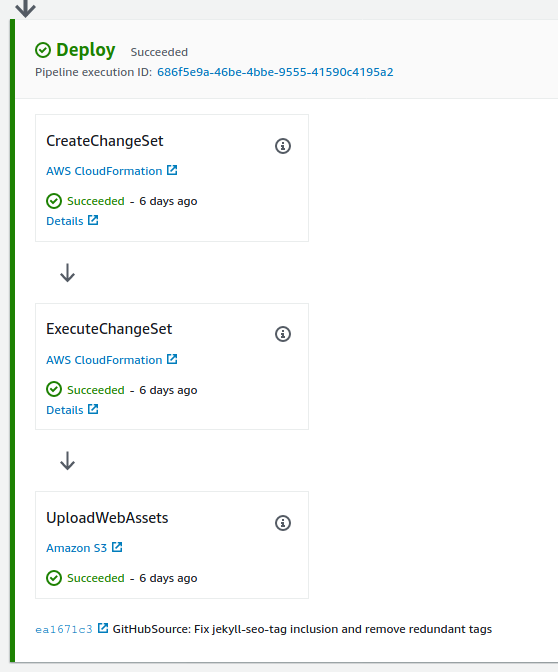
Finally the deployment stages of the pipeline are invoked. First a CloudFormation change set is generated and then executed. For deployments more critical than my personal blog one is well advised to insert a manually approval step between these steps so that the change set can be inspected for issues before being pushed into production. Pipelines for these types of projects would also do well to have several other stages for deployment to dev and testing environments as well. Unlike my projects at work, my personal blog really isn’t worth the extra effort and resources this requires.
After the CloudFormation change set executes, the UploadWebAssets deploy step is invoked. This simply copies the contents of the BlogAssets prefix from the build artifacts bucket to the public website configured S3 bucket hosting this blog.
That’s all there is to it! Using the AWS CICD tools isn’t nearly as intimidating as it looks, and it’s really nice to automate these boring build and deployment steps. Furthermore, it forced me to define my infrastructure as code. This is great for reproducibility, and it also gathers all the blog resources under a single stack providing my AWS account with some much needed organization that it was lacking before.